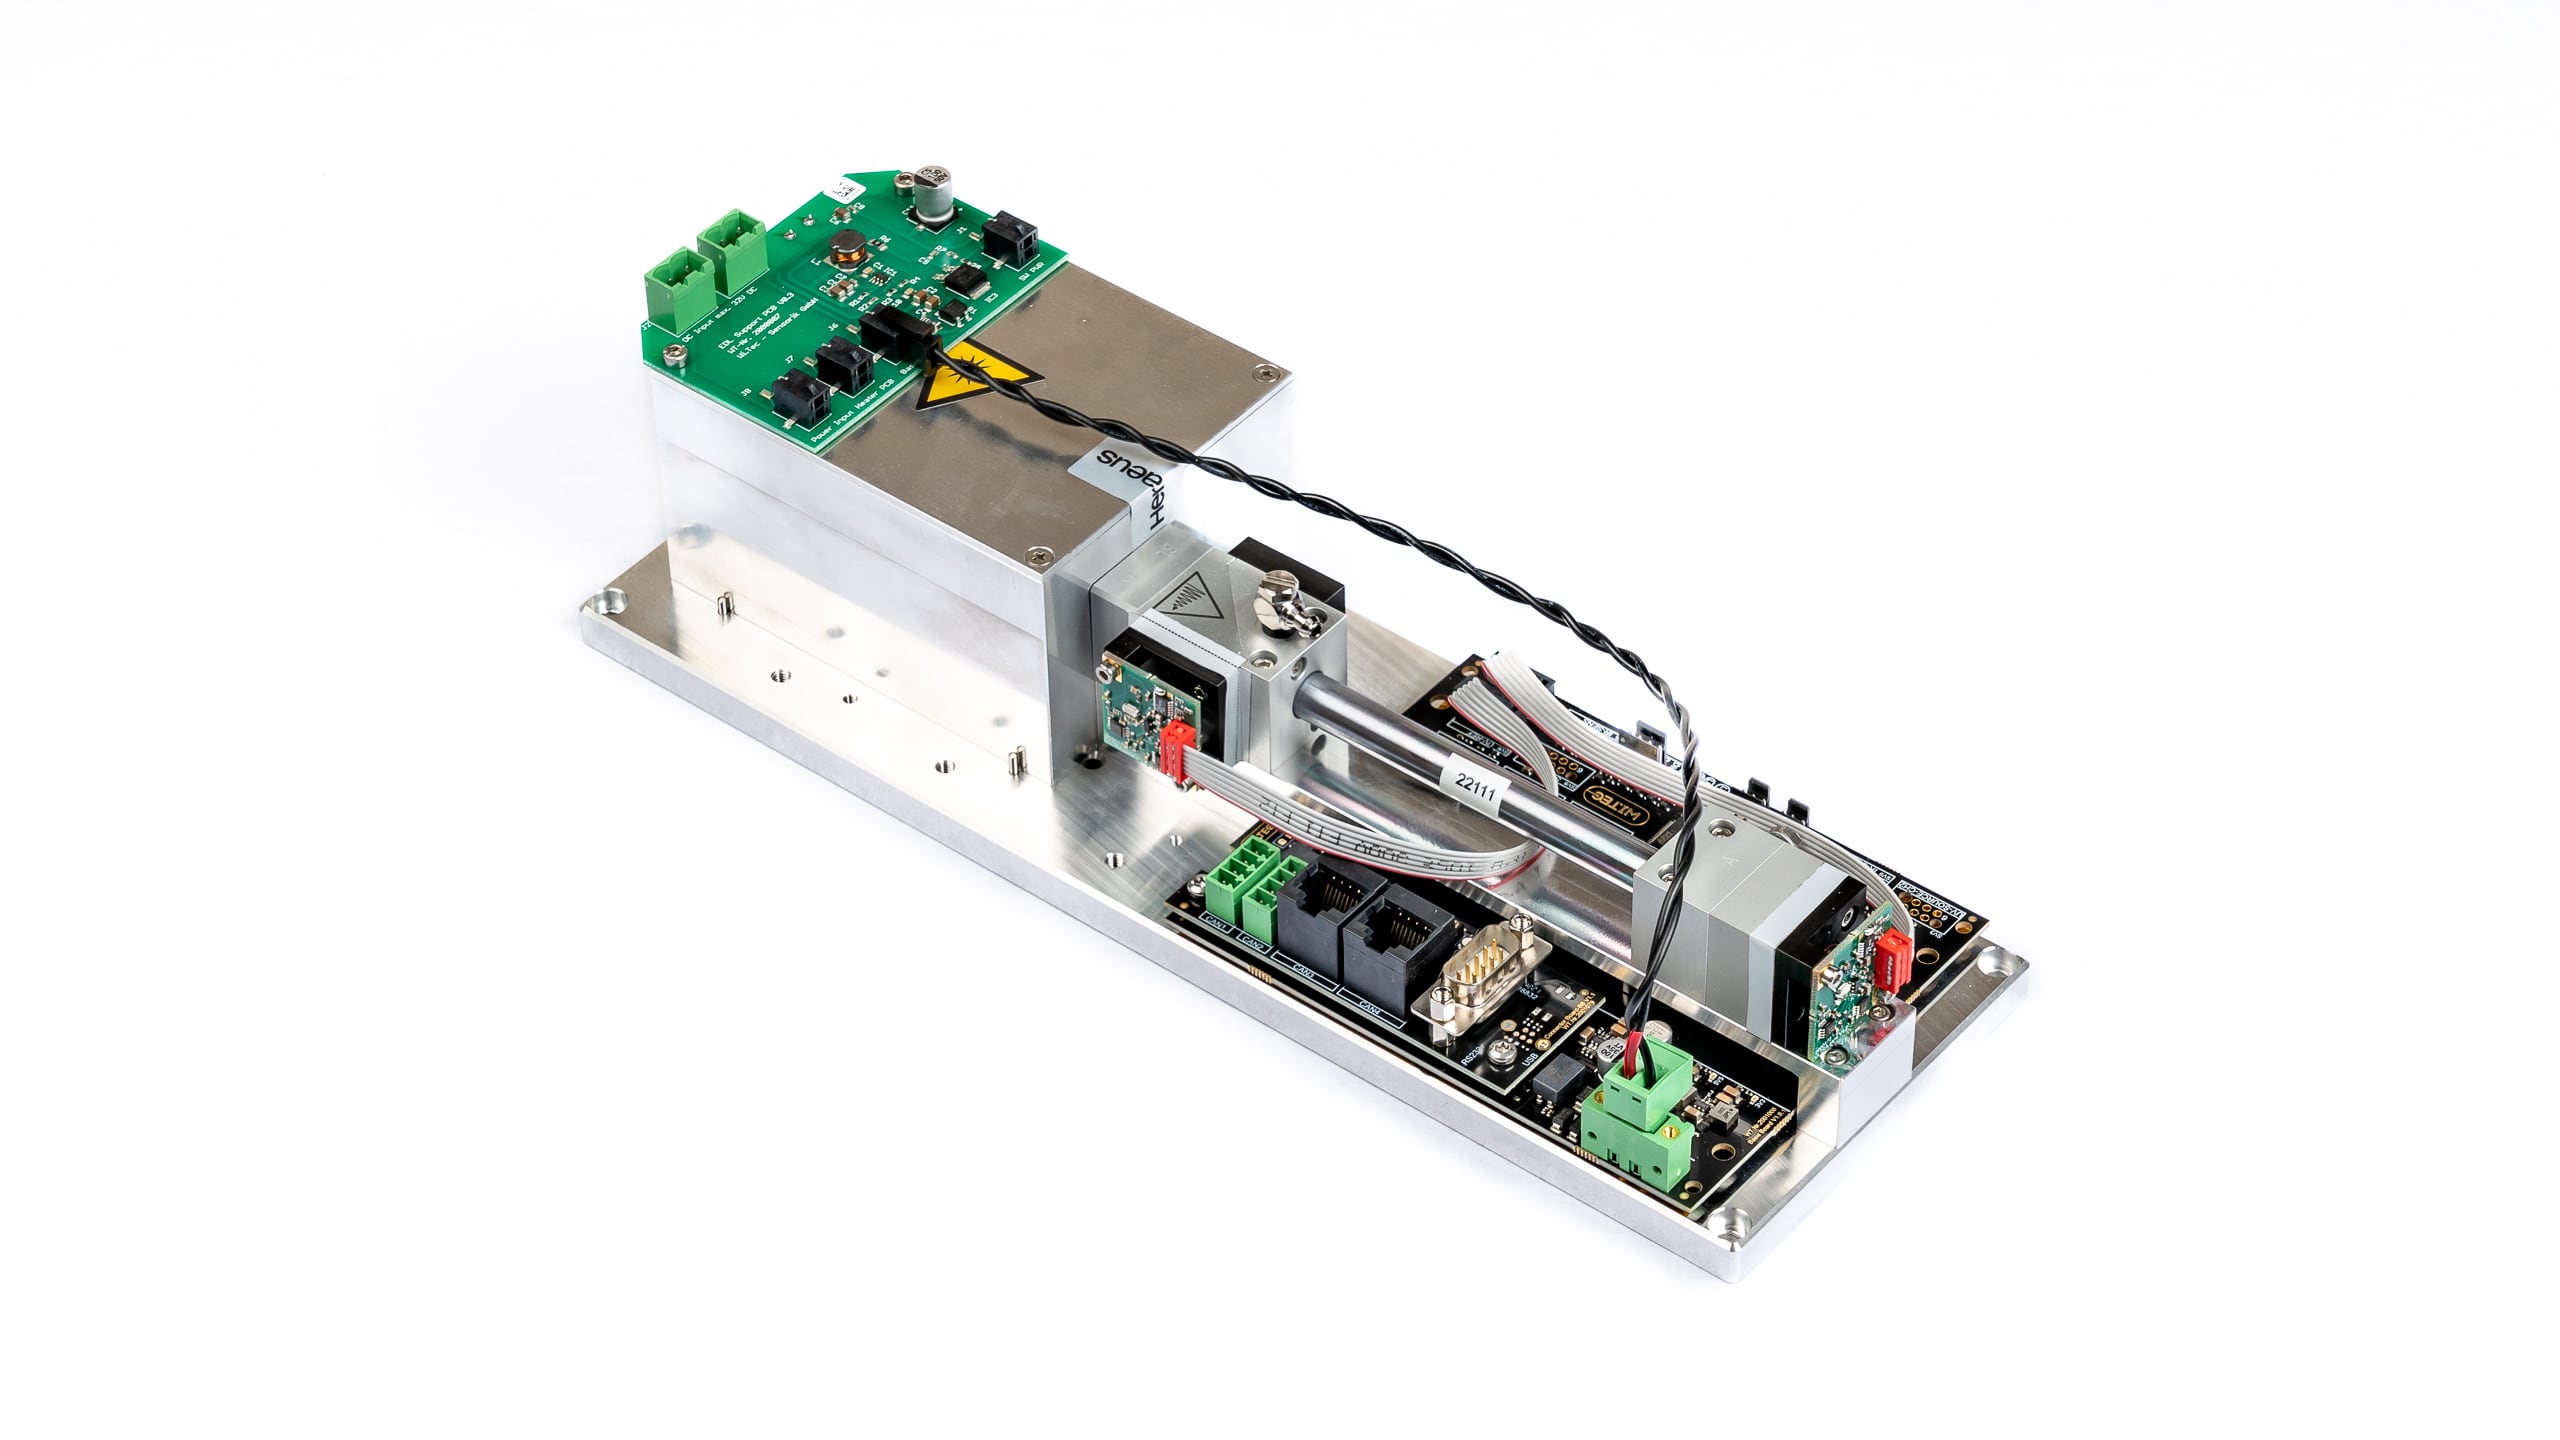
Description
The H2S sensor works according to the principle of non-dispersive UV absorption (NDUV). The measuring wavelength used is in the lower nanometer range, which enables interference-free measurements with water vapour and hydrocarbons. This makes the sensor ideal for use in biogas measurements, as accompanying gases such as NH3, CO2, CH4 and H2O do not affect the accuracy of the measurements.In contrast to photometric NDUV sensors the lifetime of electrochemical sensors for measurement of H2S is limited. Please note that lifetime data for such sensors are given for air and not for measurement of H2S. For H2S concentrations > 200 ppm the lifetime is reduced, for concentrations > 1000 ppm critical. While the measurement performance of UV-LED is constant, EC sensors are becoming »deaf«.
Applications
Specifications
General features
| Measurement technology: | Innovative NDUV Sensor (non-dispersive ultraviolet sensor) Dual beam |
| Detectable gases: | SO2 H2S |
| Number of simultaneously detectable gases: | max. 2 |
| Measurement ranges: | See Table of Measurement Ranges |
| Flow rate range: | 5 ~ 300 ltr/h For higher flow rates the sensor can be operated in bypass |
| Max. gas inlet pressure: | 300 mbar |
| Pressure loss (without additional optional sensors): | 10 @ 100 / 35 @ 200 / 70 @ 300 (mbar @ ltr/h) |
| Temperature compensation: | Yes |
| Data acquisition software: | Yes |
| Lifetime of UV radiation source: | > 8 000 h |
| Measurement cuvette: | Stainless steel with silicone coating inside |
| Cuvette sealing: | Viton O-ring |
| Internal tubing: | FKM / Viton (fluorinated rubber) |
| Casing: | High-quality table-top casing, aluminium |
| Dimensions (W x H x L): | 300 x 100 x 81 mm |
| Weight: | approx. 1670 g |
| Gas connections: | PVDF screw-type tube connection for tube Øi 4 mm, Øo 6 mm |
Measurement data
| Linearity error: | < ± 1% F.S. |
| Repeatability: | ± 0.5% F.S. |
| Long term stability zero: | < ± 1% F.S. / 24 h |
| Long term stability span: | < ± 1% F.S. / month |
| Temperature influence of zero point: | < 1% F.S. / 10K |
| Temperature influence of span: | < 2% F.S. / 10K |
| Cross sensitivity: | < 2% F.S. |
| Pressure influence: | < 1.5% / 10 hPa of reading |
| Warm-up time: | 1 min (initial), < 15 min for full specification |
| Response time (t90): | 1.5 – 15 sec |
| Sampling frequency by software: | ≤ 10 Hz |
| Detection limit: | See Table of Measurement Ranges |
| Resolution: | 0.5 x detection limit |
Electrical features
| Power supply: | 24 VDC incl. power plug 100 ~ 240 VAC 50/60 Hz: 24 VDC |
| Supply current (peak): | < 0.4 A |
| Average power consumption: | < 7.5 W |
| Interface: | USB (standard) RS232 / CANbus / CANopen (options) incl. data transmission cable 1 m |
| Analogue voltage output (option): | 0-2 V / 0-5 V / 0-10 V |
Gas parameters
| Operating temperature: | +5 ~ +45 °C |
| Storage temperature: | –20 ~ +60 °C |
| Operating pressure: | 800 ~ 1200 hPa (mbar) |
| Ambient humidity: | 0 ~ 95% rel. humidity Condensing inside of sensor must be prevented! |
List of standard measurement ranges *1 ( and detection limits *2 )
| Standard Measuring Ranges with respective Detection Limits ( % of F.S. *3 ) | ||||||||||||||||
|---|---|---|---|---|---|---|---|---|---|---|---|---|---|---|---|---|
| 100 Vol.% | 50 Vol.% | 30 Vol.% | 20 Vol.% | 10 Vol.% | 5 Vol.% | 1 Vol.% | 5,000 ppm | 2,000 ppm | 1,000 ppm | 500 ppm | 300 ppm | 100 ppm | 50 ppm | 10 ppm | 1 ppm | |
| SO2 | (< 0.1%) | (< 0.1%) | (< 0.1%) | (< 0.1%) | (< 0.1%) | (< 0.1%) | (< 0.1%) | (< 0.1%) | (< 0.5%) | (< 0.5%) | (< 0.5%) | |||||
| H2S | (< 0.1%) | (< 0.1%) | (< 0.1%) | (< 0.1%) | (< 0.2%) | (< 0.5%) | ||||||||||
Infrared module NDIR Ultraviolet module NDUV
Definition of Detection Limit
The Detection Limit is the smallest measurement value which can be obtained with a specific uncertainty. This uncertainty includes the resolution, noise and stability of the gas sensor for a specific gas and specific measurement range. For evaluation of the detection limit value, several single measurements are taken at the identical measurement conditions. With the obtained single measurement results the standard deviation “Sigma” (σ) is calculated. The values given in the table equal the triple amount of Sigma.
Recalibrations
The following recalibration intervals are recommended for UV sensors:
V 1.0 / Rev. 2024-02-07 / Subject to alterations.
https://www.ritter.de/en/multigas-nduv-h2s-ultraviolet-modules/
Dr.-Ing. RITTER Apparatebau GmbH & Co. KG · Coloniastrasse 19-23 · D-44892 Bochum · Germany
For questions please contact mailbox@ritter.de or your local distribution partner (on our overview page)


